
DIY Protein Bars: A Simple Guide


Why Make Your Own Protein Bars?
In today's fast-paced world, it's easy to reach for a store-bought protein bar when you're on the go. However, making your own protein bars at home can be a healthier and more cost-effective alternative. Not only do you have control over the ingredients, but you also avoid added sugars and preservatives often found in commercial products.
DIY protein bars allow you to tailor the recipe to your dietary needs and taste preferences. Whether you're looking for a post-workout snack or a meal replacement, homemade protein bars can be customized to suit your lifestyle. Plus, they're a fun and simple project that can be done in your kitchen with minimal equipment.
Essential Ingredients for Protein Bars
Creating your own protein bars starts with choosing the right ingredients. Here are some essentials you'll need:
- Protein Powder: This is the foundation of your protein bars. Choose a high-quality powder based on your dietary preferences, such as whey, soy, or pea protein.
- Binding Agents: Ingredients like nut butter or honey help to hold the bars together.
- Dry Ingredients: Oats, seeds, and nuts add texture and nutritional value.
- Flavor Enhancers: Consider adding vanilla extract, cocoa powder, or dried fruits for extra flavor.
Step-by-Step Process for Making Protein Bars
The process of making protein bars is straightforward. Here's a simple guide to get you started:
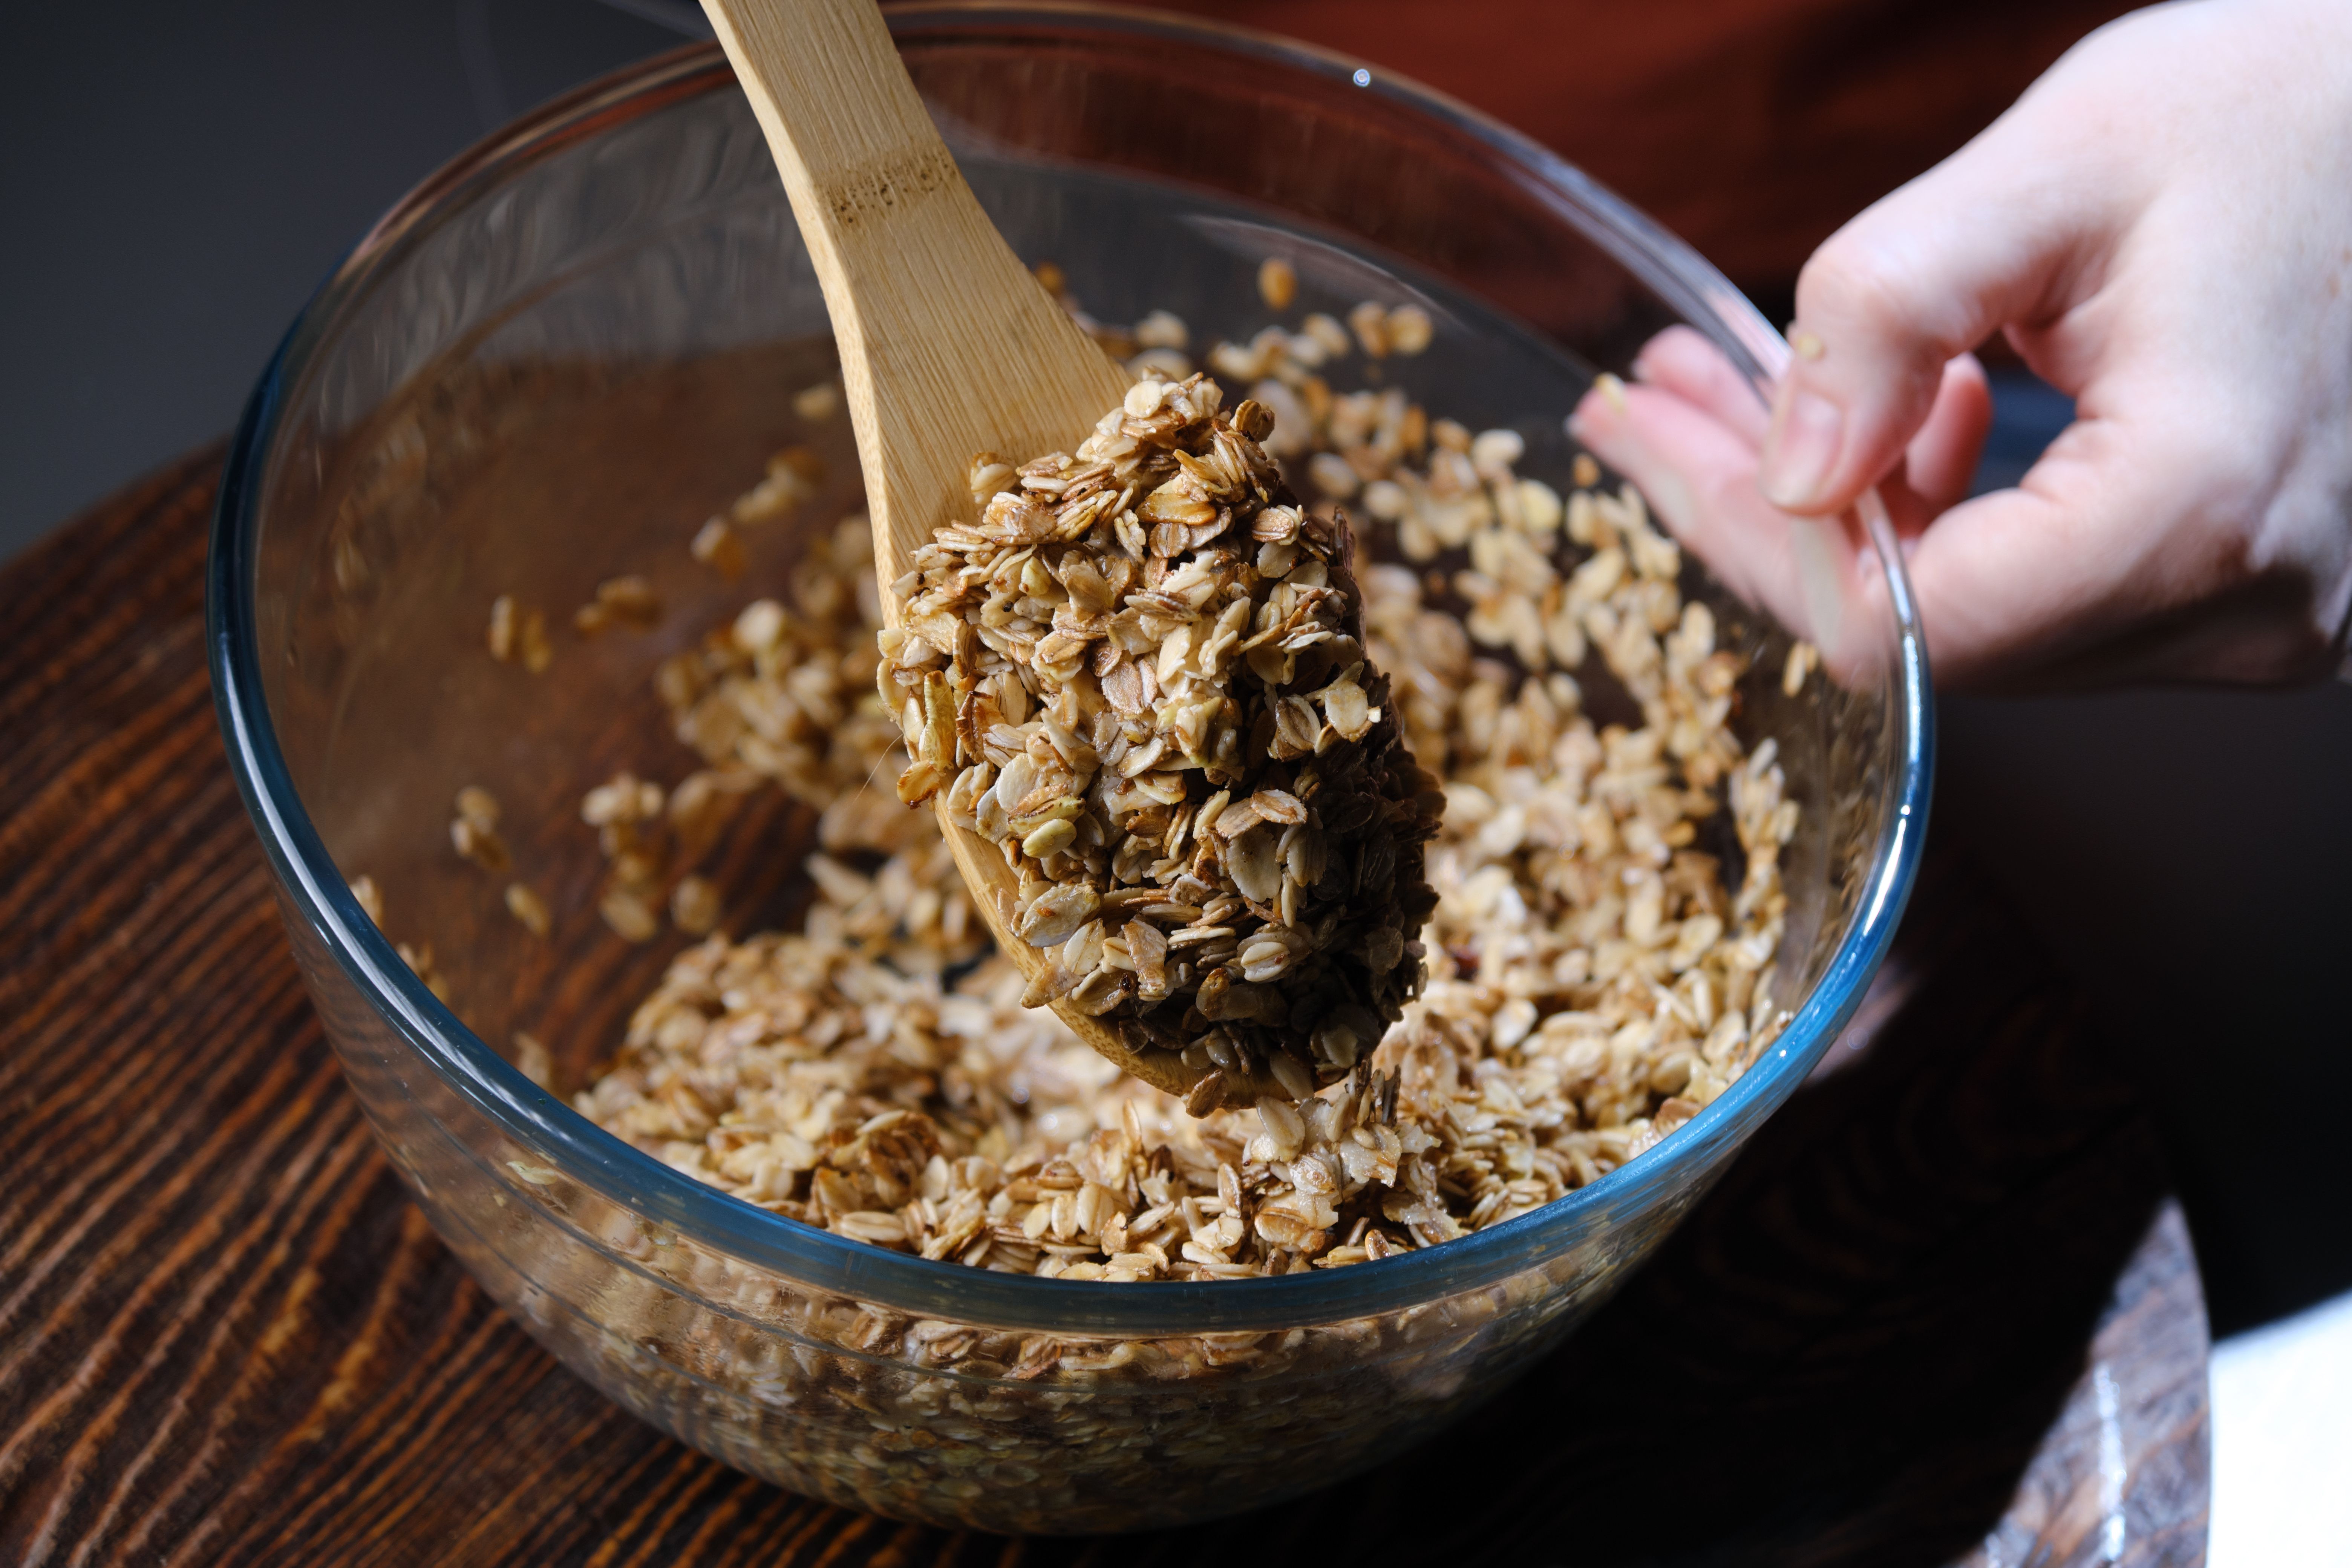
- Mix the dry ingredients, including your chosen protein powder, oats, and any seeds or nuts.
- Add the wet ingredients, such as nut butter and honey, mixing until you achieve a dough-like consistency.
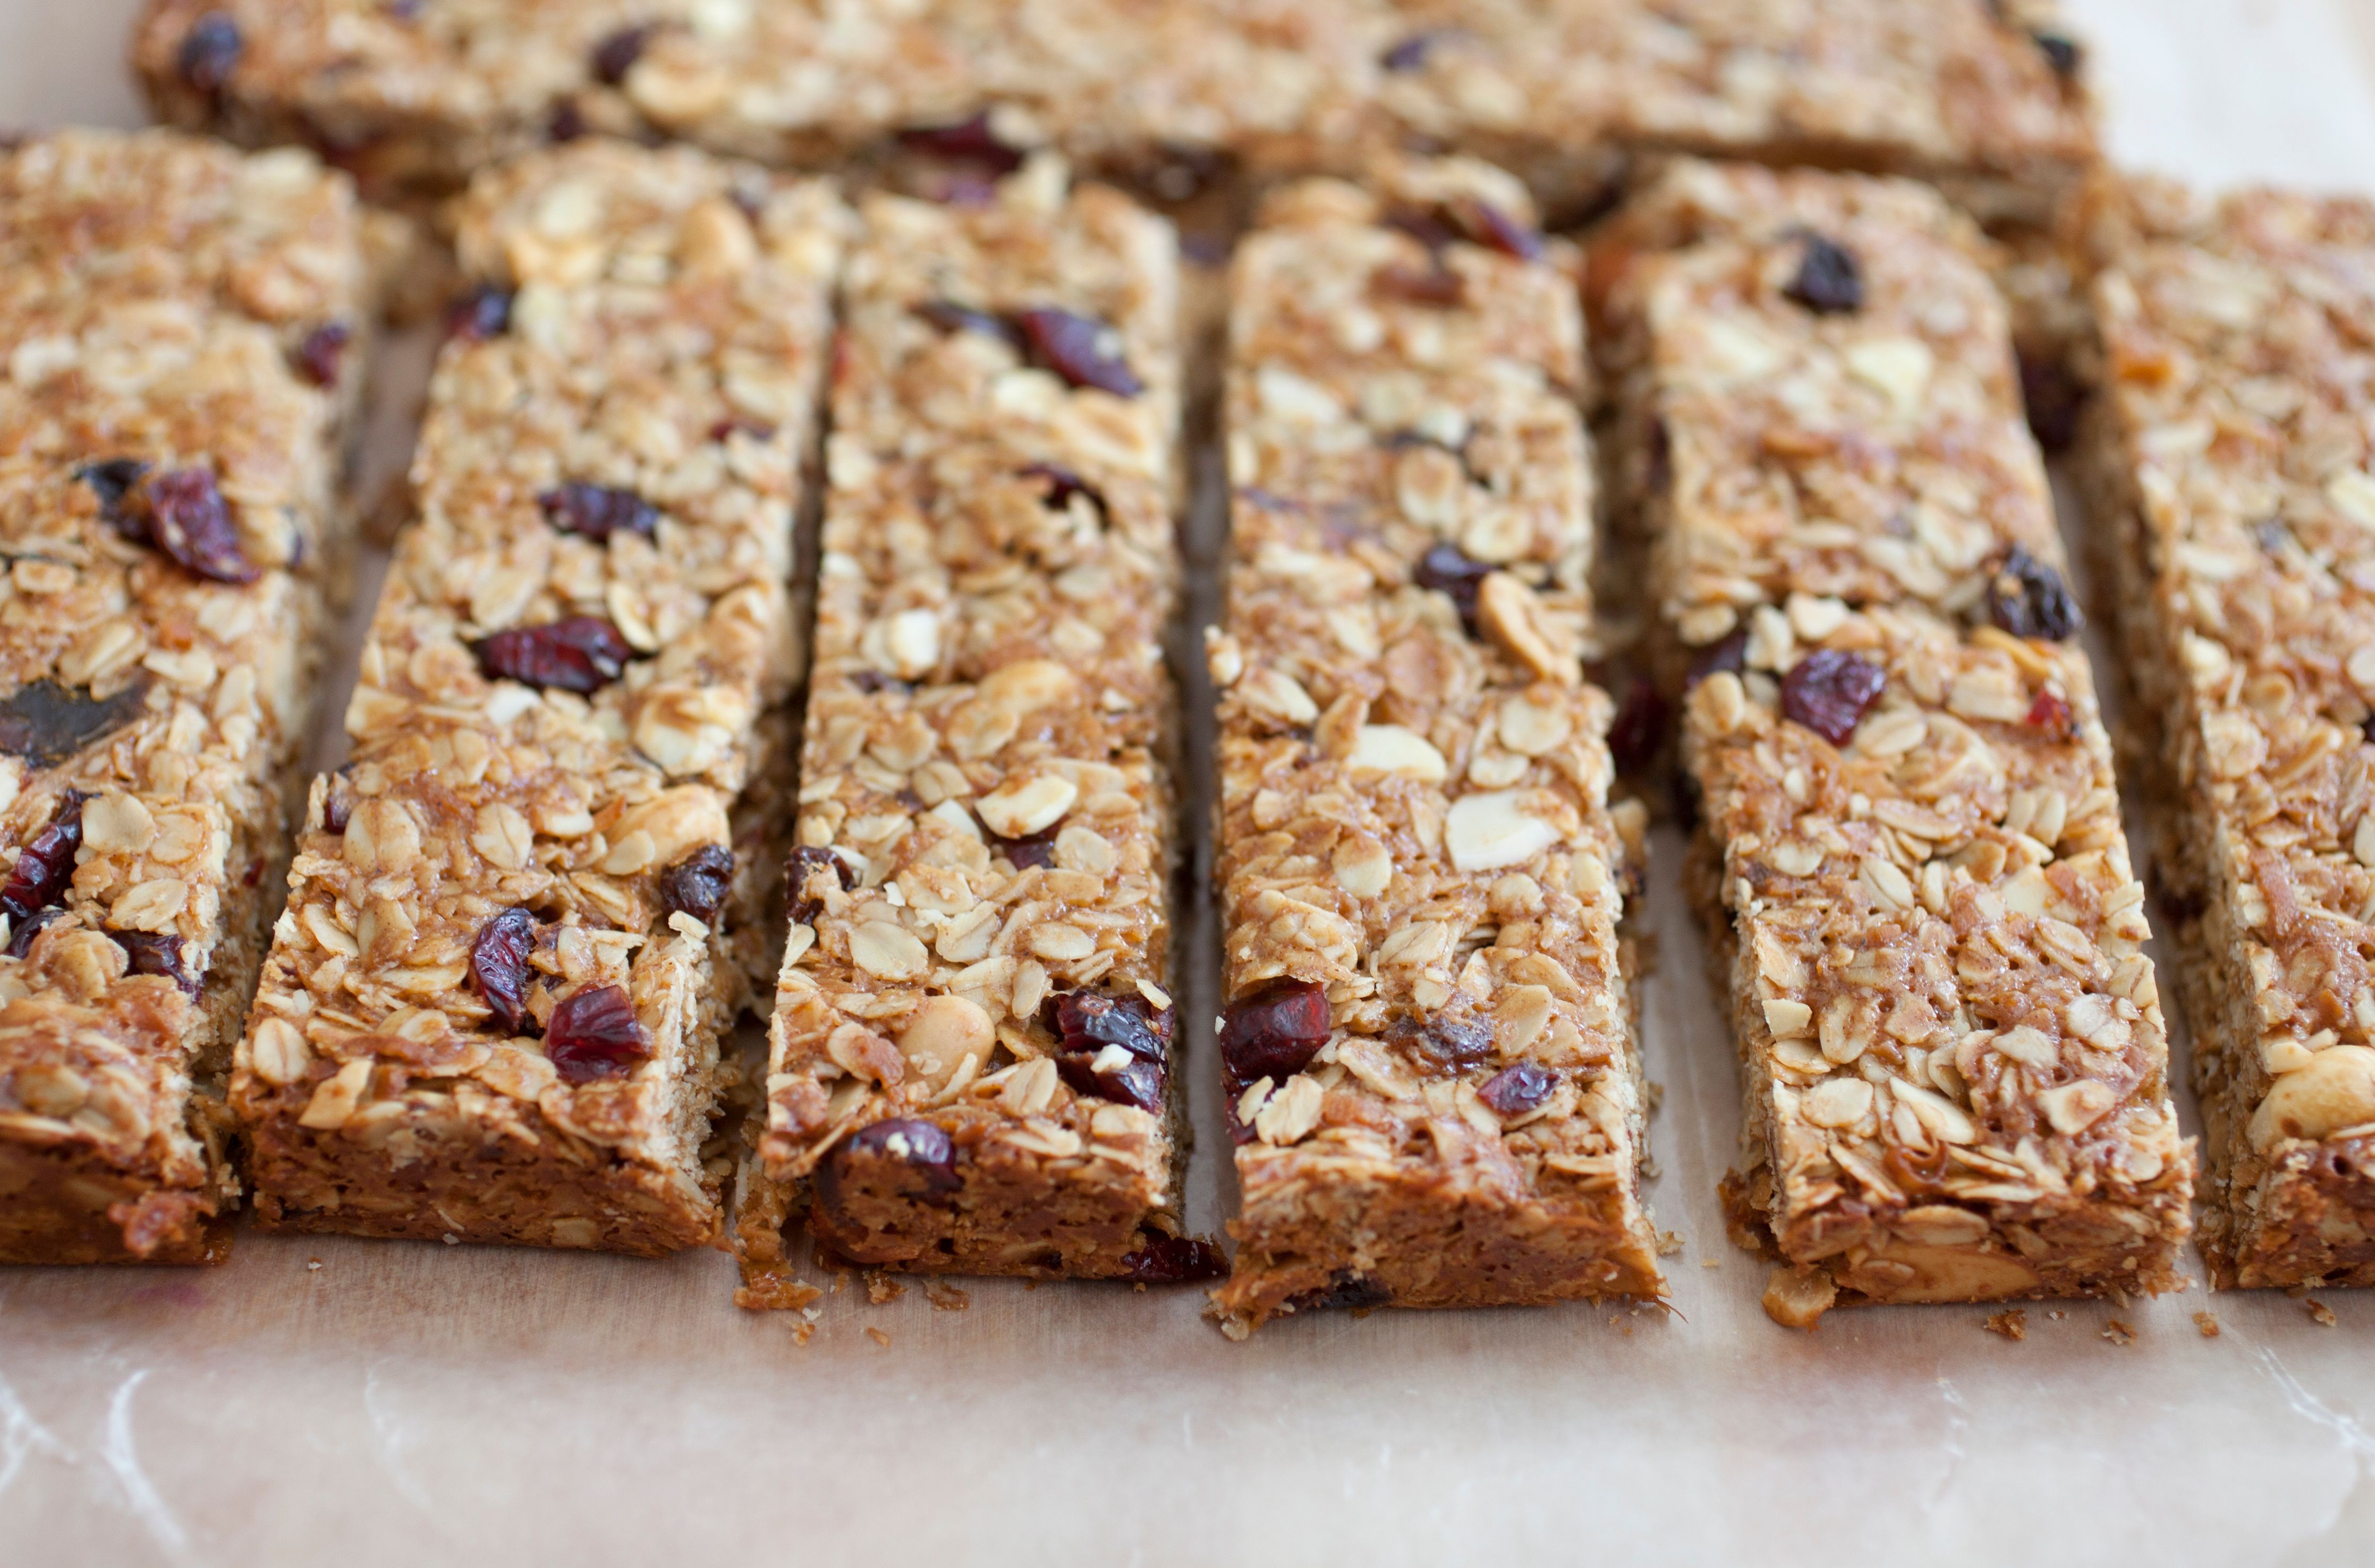
- Press the mixture into a lined baking dish and refrigerate for at least an hour.
- Once set, cut into bars and store them in an airtight container.
Customizing Your Protein Bars
One of the greatest benefits of DIY protein bars is the ability to customize them. You can experiment with different flavors and textures by adding various ingredients. For example, try incorporating dark chocolate chips for a sweet touch or chia seeds for added fiber.
If you prefer a lower-carb option, consider substituting oats with almond flour or coconut flour. You can also adjust the sweetness level by varying the amount of honey or using alternative sweeteners like stevia.
Storing and Serving Tips
Once you've made your protein bars, proper storage is key to maintaining their freshness. Store the bars in an airtight container in the refrigerator for up to two weeks. For longer storage, you can freeze them, ensuring you always have a healthy snack option on hand.
When it comes to serving, these bars are perfect for a quick breakfast on the run or as a mid-afternoon energy boost. Pair them with a piece of fruit or a smoothie for a more substantial meal.
Conclusion
Making your own protein bars is an easy and rewarding process that allows you to enjoy delicious and nutritious snacks tailored to your taste and dietary needs. With just a few simple ingredients and steps, you'll have a batch of homemade protein bars ready to fuel your day. Give it a try and discover how enjoyable and versatile DIY protein bars can be!
Commercial Kitchen http://avice.org