
Mastering Danish Pastry: A Step-by-Step Baking Guide


Understanding the Basics of Danish Pastry
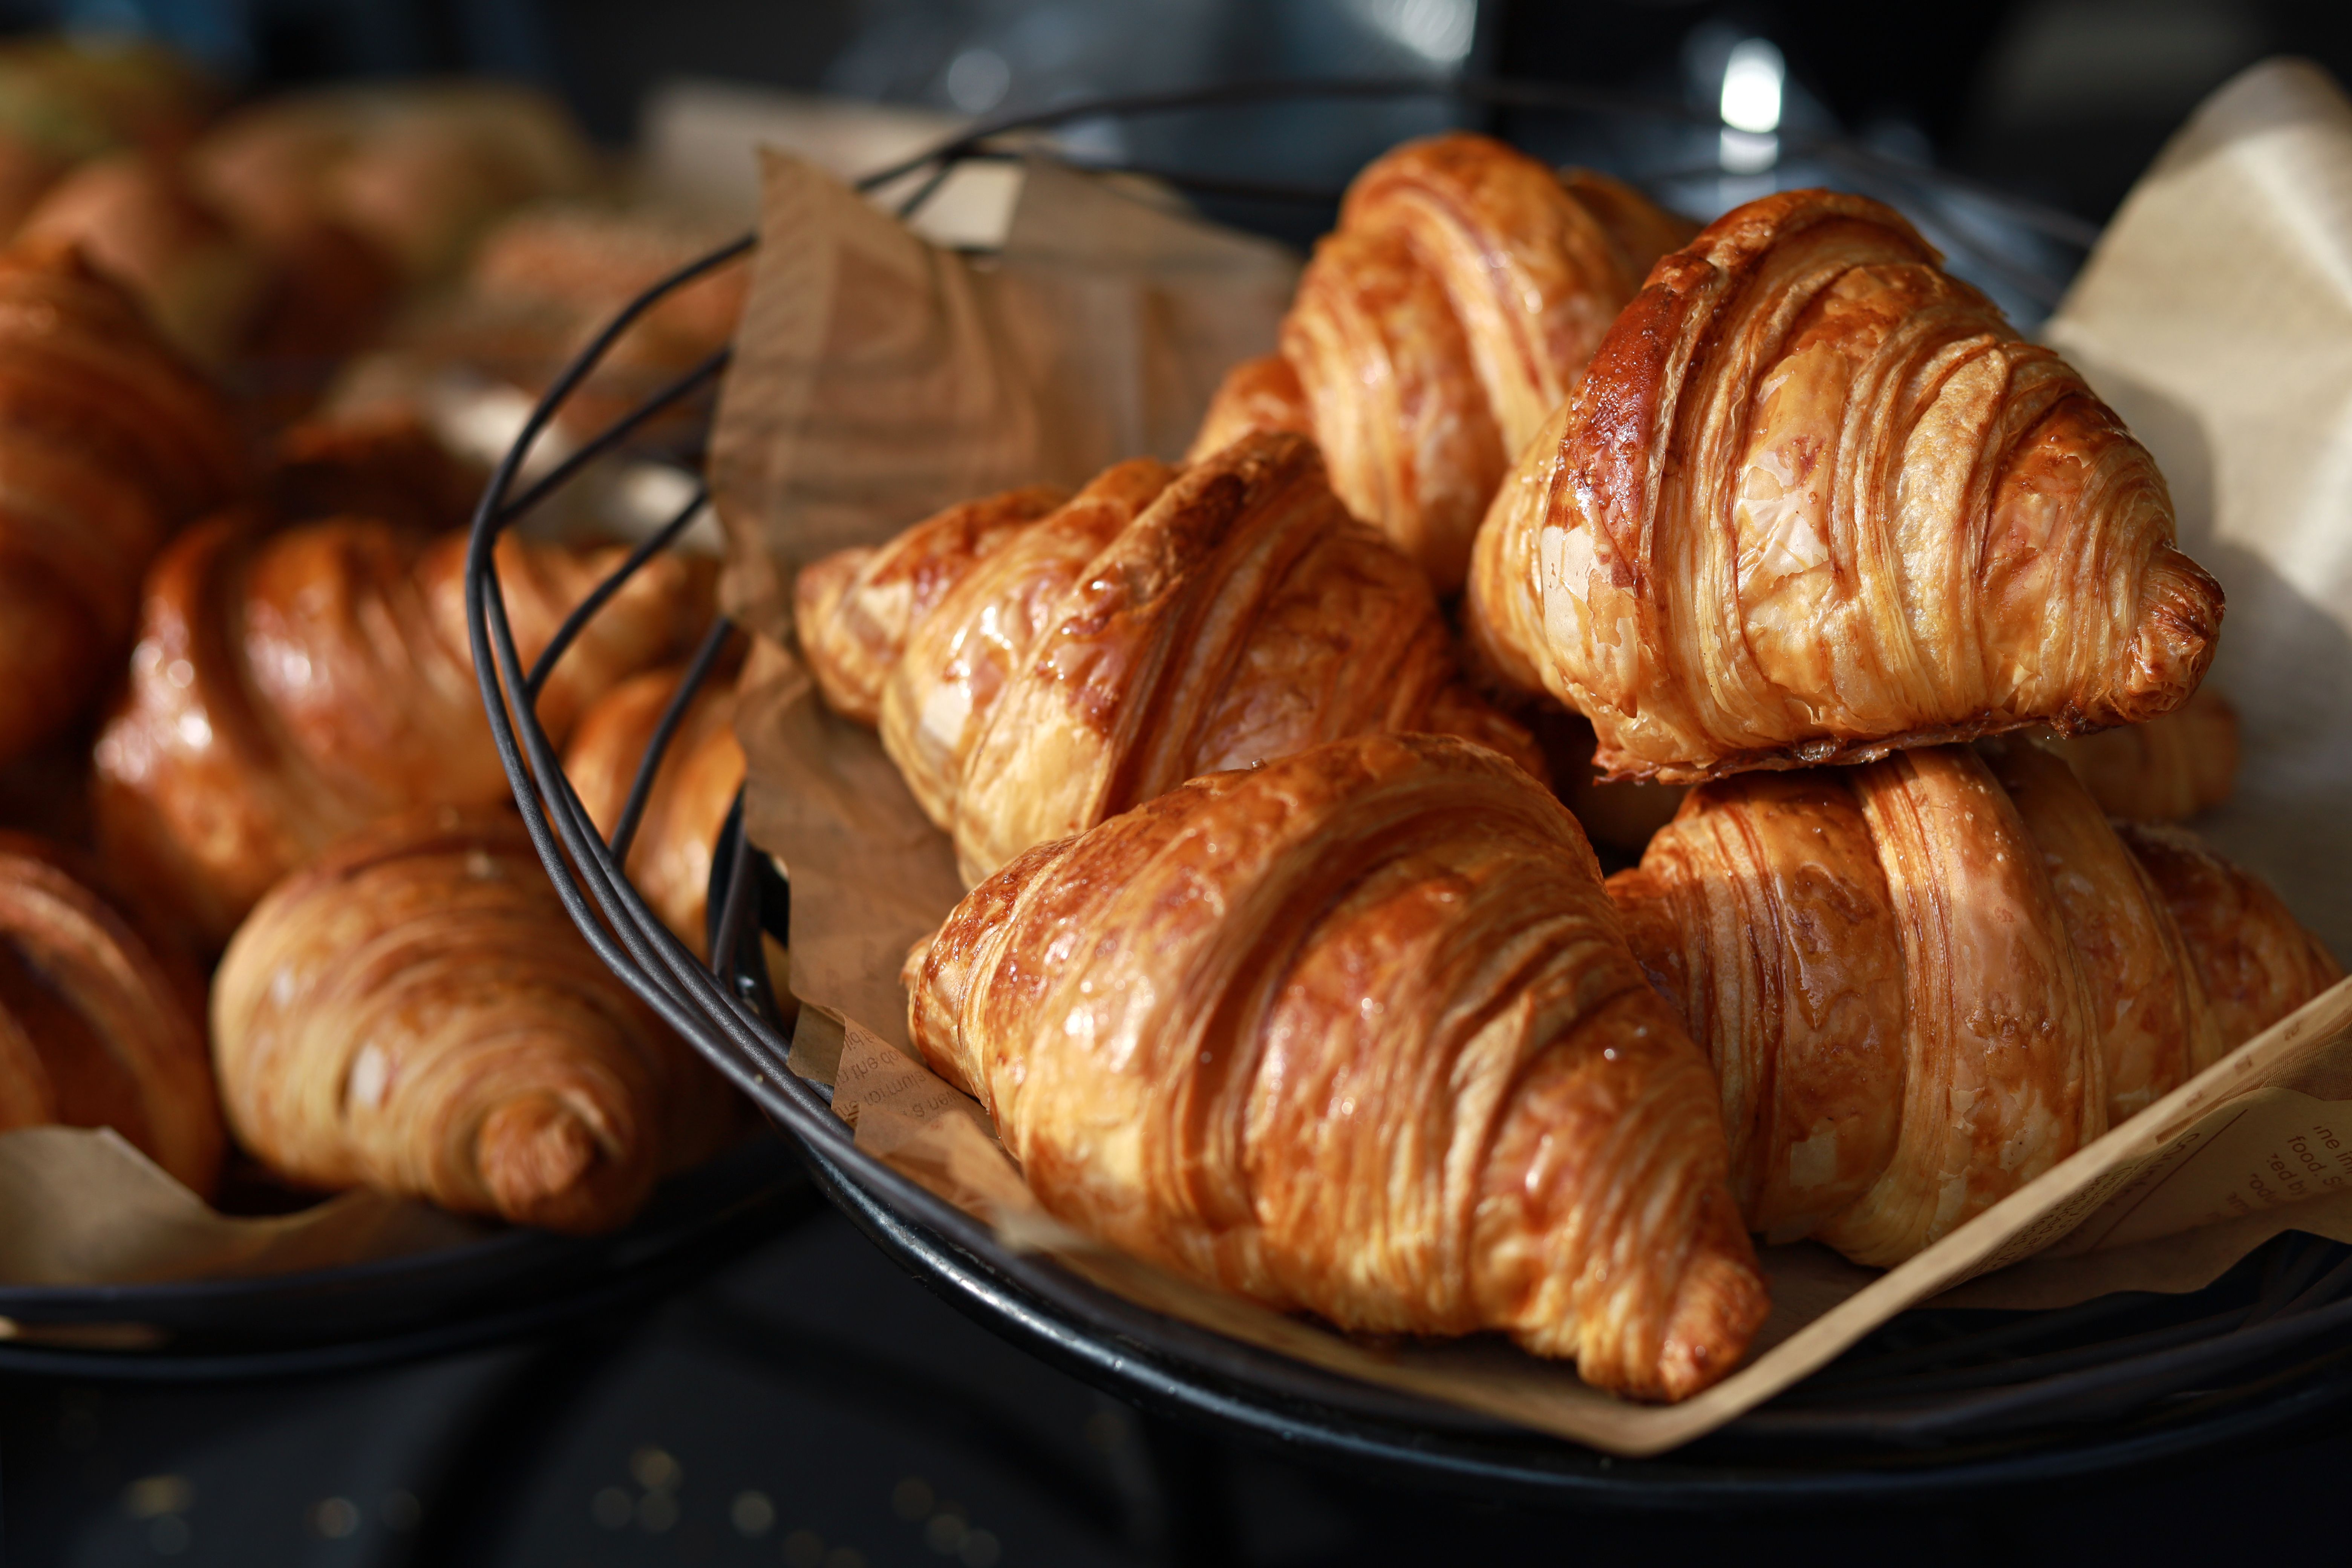
Mastering the art of Danish pastry is a rewarding journey for any baking enthusiast. Originating from Denmark, this delightful pastry is known for its flaky layers, buttery flavor, and sweet fillings. To achieve the perfect Danish pastry, it's essential to understand the basic components that make up this culinary delight. The main ingredients include flour, butter, yeast, milk, and sugar.
The secret to an exceptional Danish pastry lies in the lamination process, which involves folding butter into the dough multiple times. This technique creates thin layers that puff up when baked, resulting in the pastry's characteristic flakiness. Patience and precision are key during this process.
Preparing the Dough
To start, you'll need to prepare the dough. Combine flour, sugar, and salt in a bowl. Dissolve yeast in warm milk and add to the dry ingredients, mixing until a sticky dough forms. Cover the dough and let it rise until it doubles in size. This initial rise is crucial for developing flavor and texture.
Once the dough has risen, transfer it to a floured surface and roll it into a rectangle. Spread softened butter over two-thirds of the dough, then fold it into thirds like a letter. This is the first step in creating layers. Turn the dough 90 degrees and roll it out again, repeating the folding process two more times.
Filling and Shaping
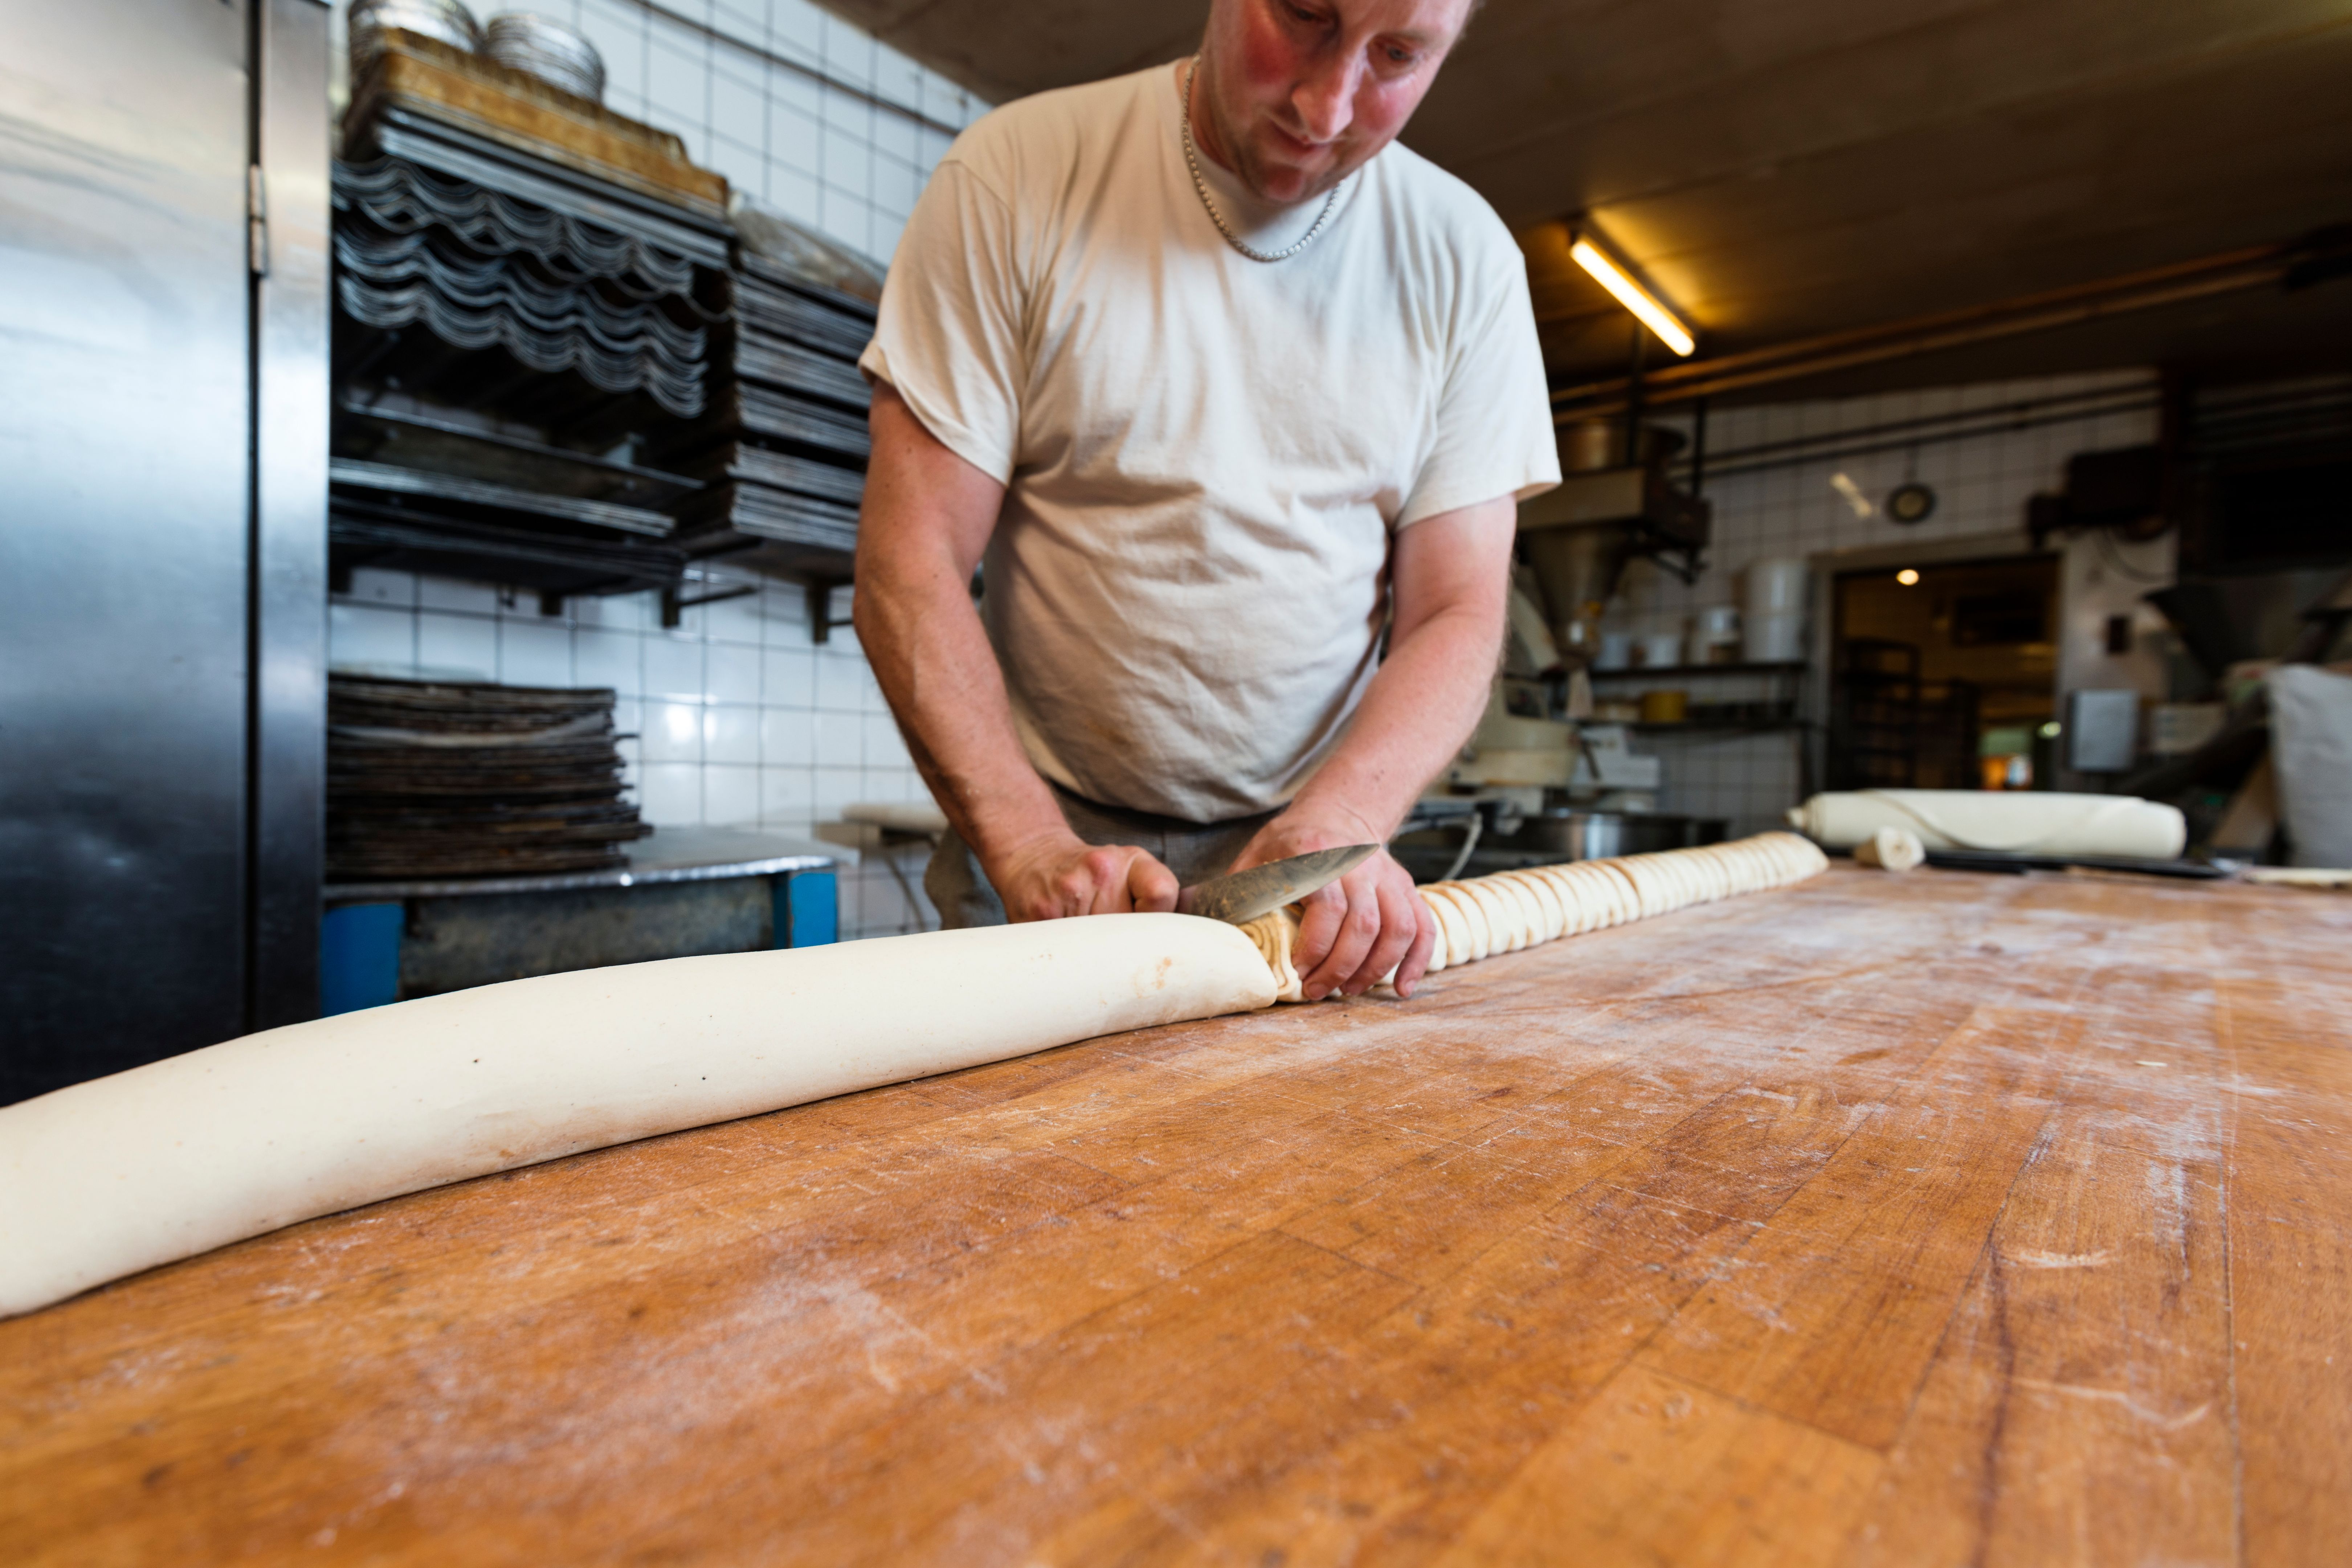
After laminating the dough, it's time to add your desired filling. Classic options include almond paste, fruit preserves, or custard. Roll out the dough once more and cut it into squares or triangles. Place a spoonful of filling in the center of each piece before folding and shaping them into your preferred design.
Popular shapes for Danish pastries include pinwheels, braids, and envelopes. Ensure that any seams are securely sealed to prevent the filling from leaking during baking. Once shaped, allow the pastries to rise again until puffy.
Baking to Perfection
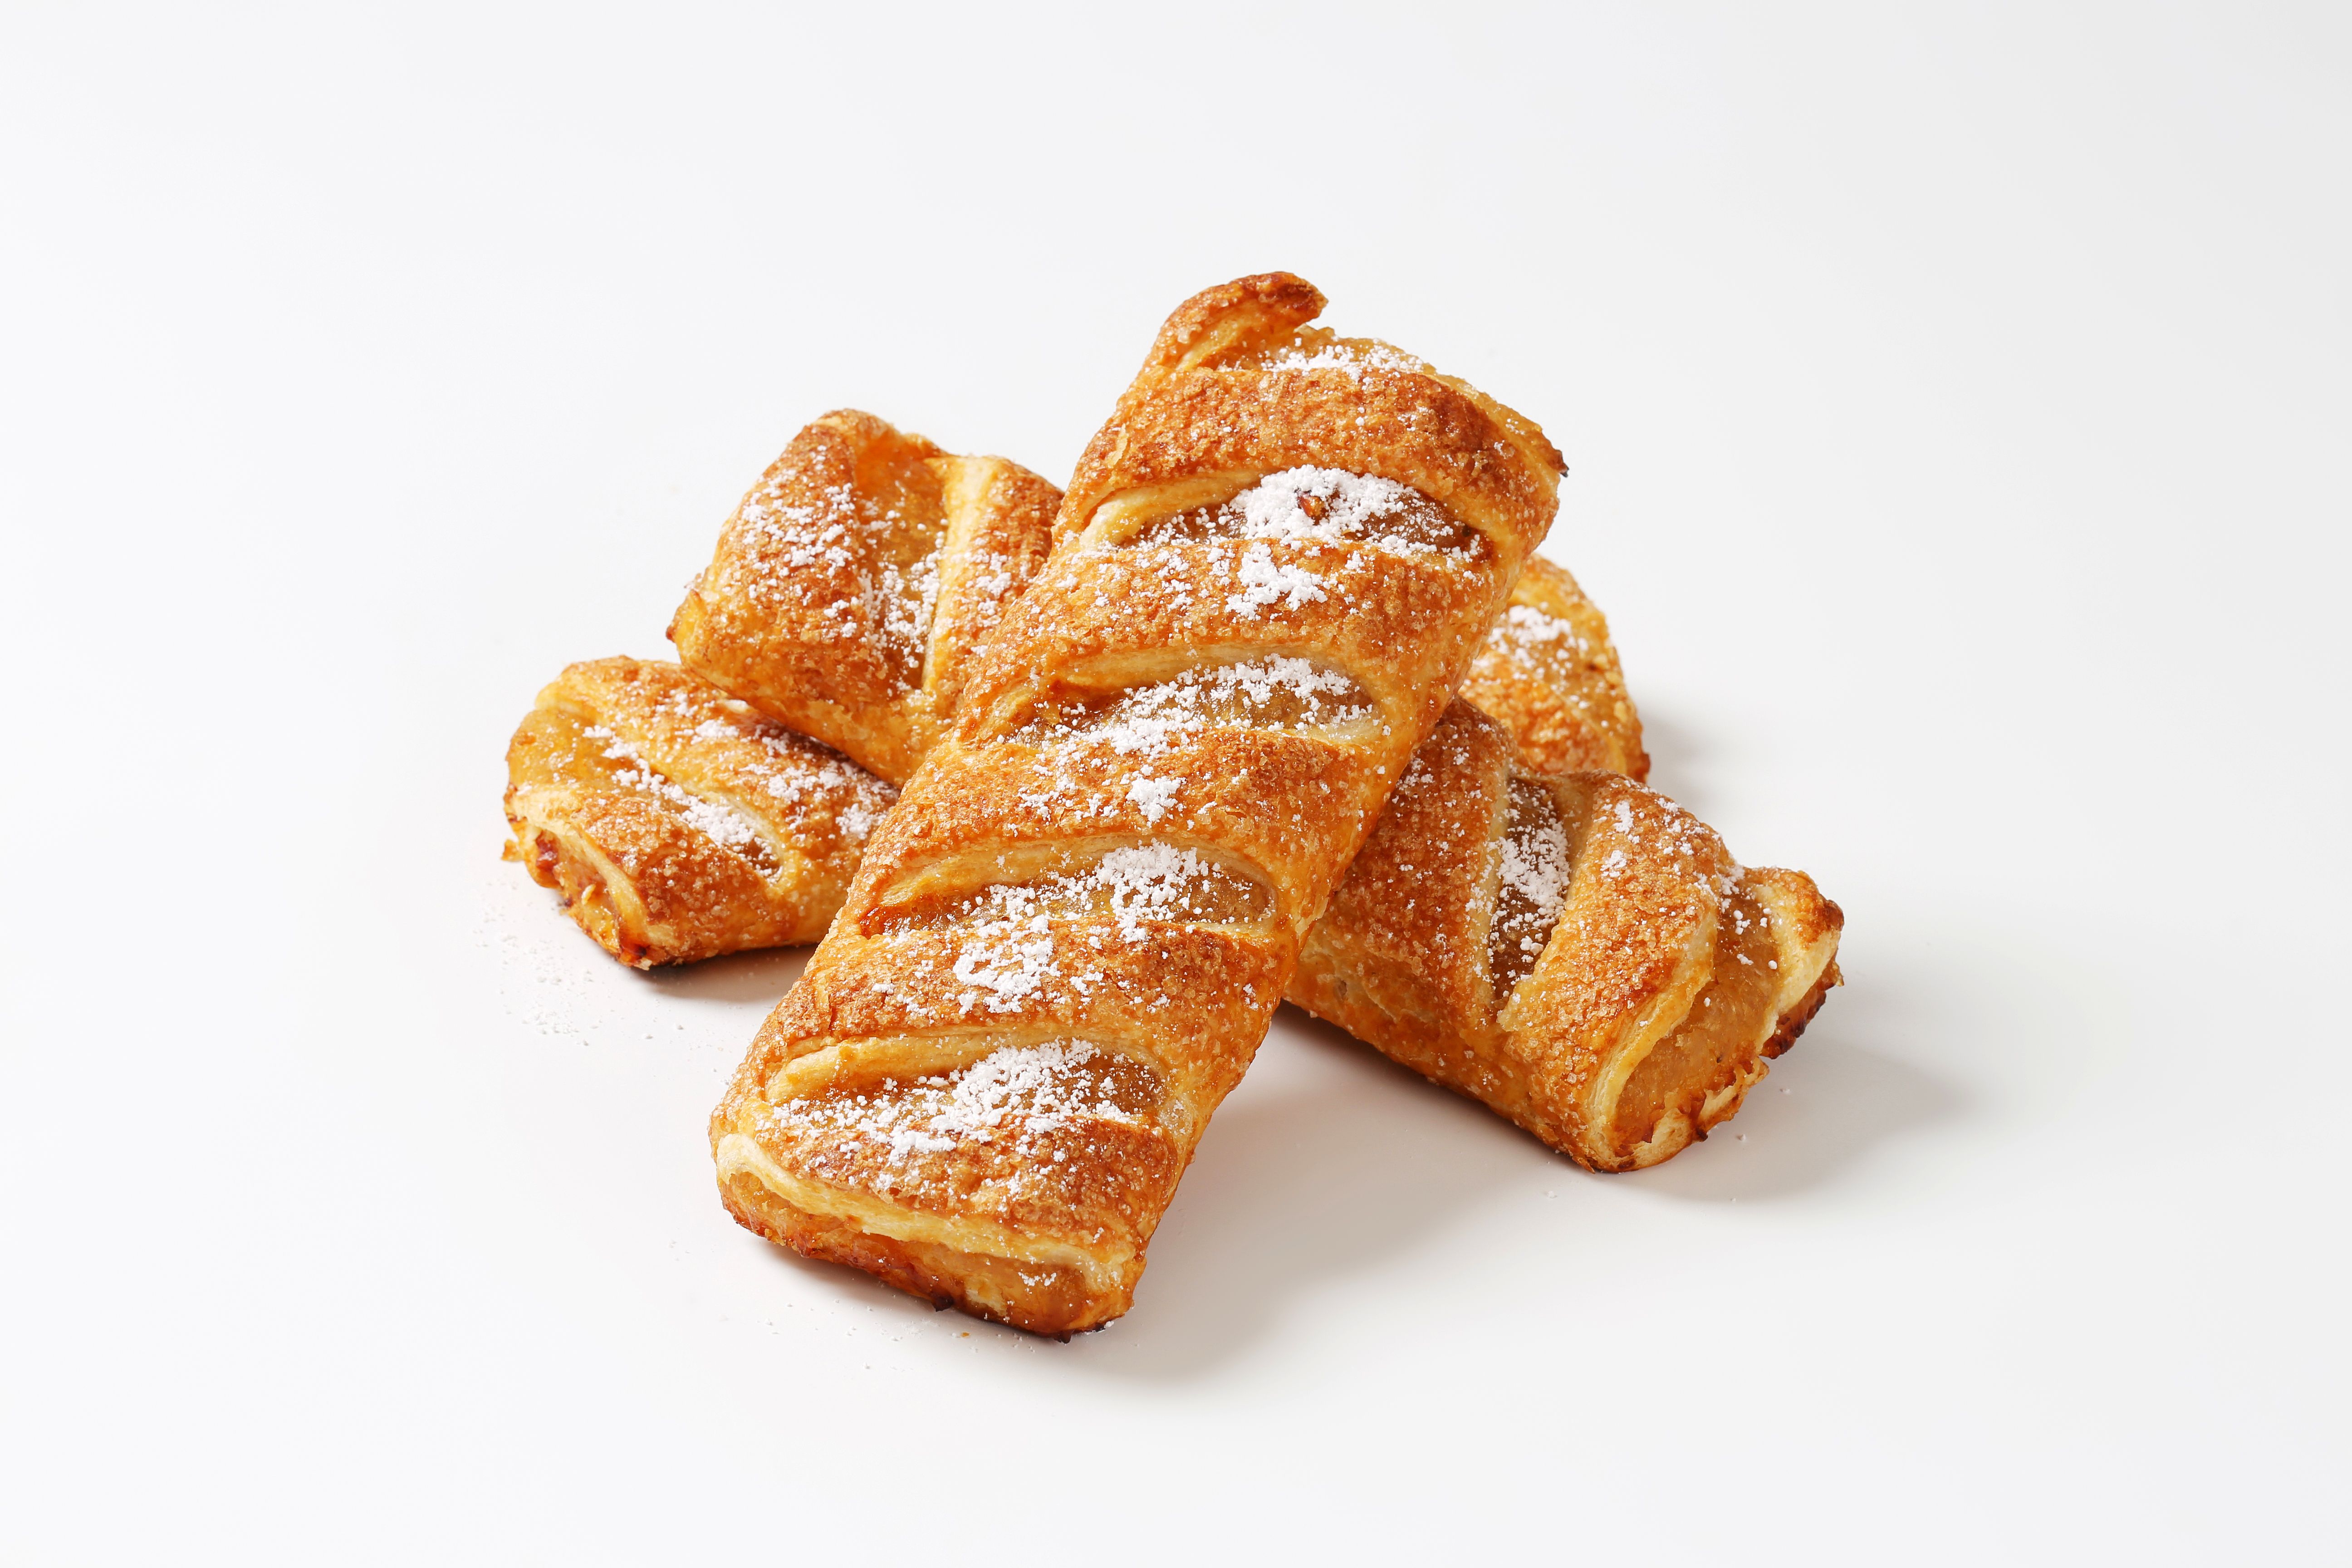
Preheat your oven to 400°F (200°C) and place the pastries on a baking sheet lined with parchment paper. Brush them with an egg wash to achieve a glossy finish. Bake for 15-20 minutes or until they are golden brown and crisp.
It's important to monitor the pastries closely as they bake, ensuring they don't overcook and become dry. The end result should be a light, flaky pastry with a delightful buttery taste.
Serving and Enjoying
Danish pastries are best enjoyed fresh from the oven, but they can also be stored in an airtight container for a few days. For an extra touch of sweetness, drizzle them with icing made from powdered sugar and milk.
Serve these delicious pastries with a cup of coffee or tea for a perfect breakfast or afternoon treat. The combination of flaky pastry and sweet filling is sure to impress your family and friends.
Troubleshooting Common Issues
If your pastries aren't turning out as expected, there are a few common issues to consider. If they're not rising properly, check that your yeast is still active. If they're too dense, you may need to allow more time for the dough to rest and rise.
For overly greasy pastries, ensure that your butter is not melting during the lamination process. Keeping everything cold is essential for creating those distinct layers.
Experimenting with Flavors
Once you've mastered the basics of Danish pastry, feel free to experiment with different flavors and fillings. Consider adding spices like cinnamon or cardamom to the dough for extra warmth. For fillings, try using chocolate, lemon curd, or savory options like cheese and herbs.
The versatility of Danish pastries allows you to customize them to suit any occasion or taste preference. Happy baking!